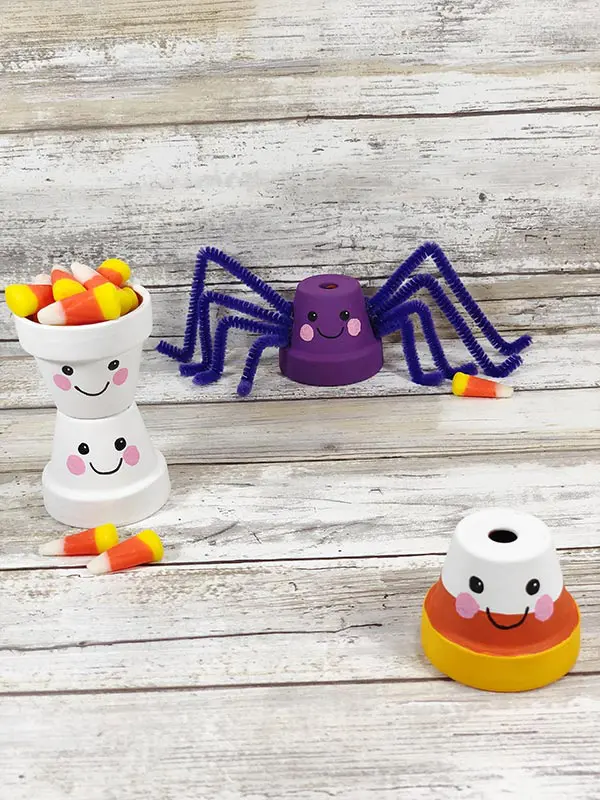
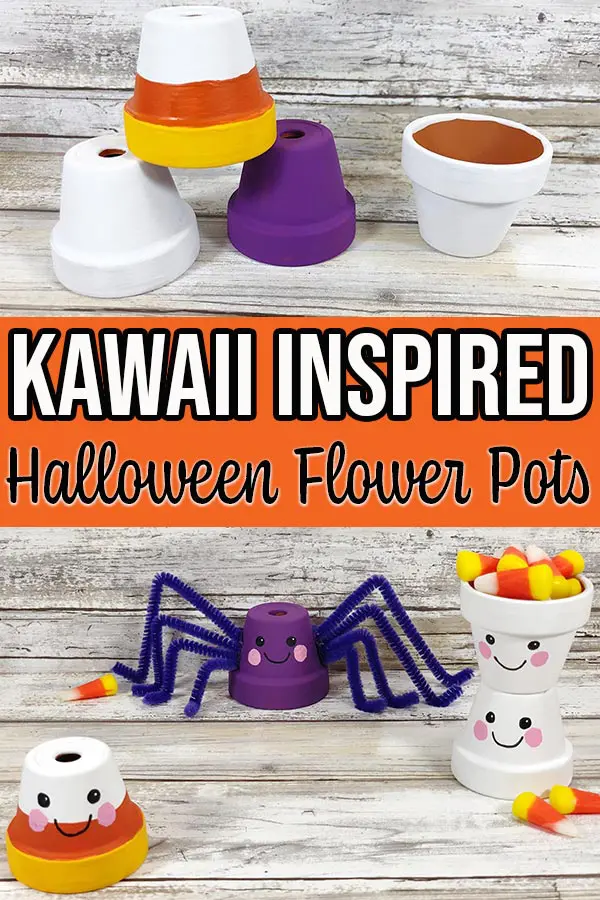
Looking for adorable Halloween crafts for kids to make? These Halloween Kawaii inspired flower pots make cute decorations.
Kawaii crafts are super cute and take these three painting clay pot ideas to a whole new level of cuteness. Especially if you use mini terra cotta pots.
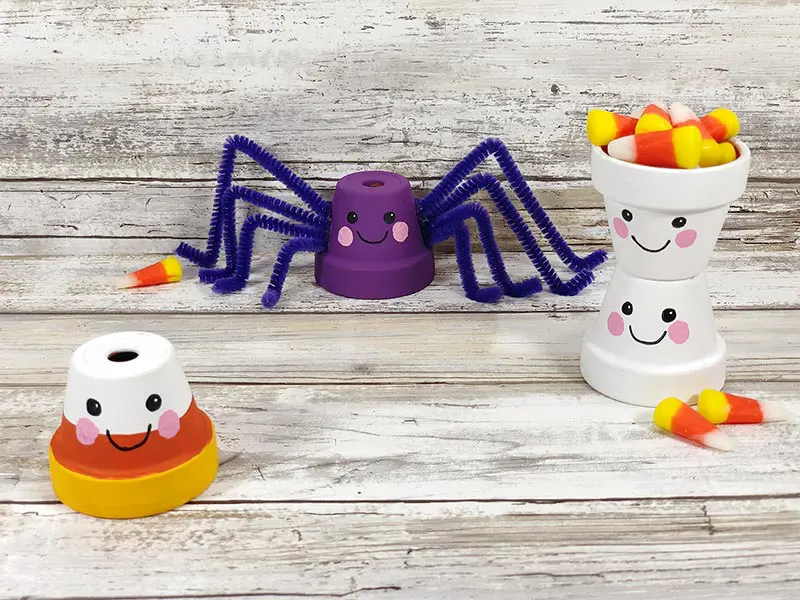
To make the little flower pots look like candy corn, ghosts, and a spider, we’re going to be painting them and adding cute faces.
The true Kawaii inspired look is all in the features, so we have tips below on how to add those details.
Get ready to dig into your Halloween craft supplies and have a boo-rrific time making these adorable clay flower pot crafts.
These coffee filter bats, these pool noodle Halloween crafts and monster stick bookmarks are also fun to make with the kids.
Find even more decor ideas with this list of DIY Halloween deocrations and this list of creative homemade pumpkin decor.
Halloween Flower Pot Decoration Ideas
There are so many creative crafts with clay flower pots that you can make yourself and these make cute Halloween decor. We also have adorable clay pot turkeys too.
The kids can help create them too. Younger kids can definitely help paint. The amount of adult assistance will vary for older kids.
Honestly though these are great crafts for adults. I mean, they are super cute. You can display them on a shelf, table, mantel, or wide window sill.
You could even put the ghost flower pots on your desk filled with a few pieces of Halloween candy.
This post contains affiliate links. As an Amazon Associate and a participant in other affiliate programs, we earn a commission on qualifying purchases.
What kind of paint do you use on terracotta pots?
For this craft we’ll be painting terracotta pots with acrylic paint, but you can also use spray paints for this or other projects.
Can you use Sharpies on terracotta pots?
Yes, you can use Sharpies, Sharpie Oil-Based Paint Markers and other types of permanent markers to draw on terracotta flower pots. We’re using a permanent marker to draw the facial details.
How to Make Halloween Kawaii Inspired Clay Pots
I love that this is an affordable Halloween craft to make. You can easily find the needed supplies at the Dollar Store, on Amazon, or at your favorite craft store.
It is up to you if you want each of these pots painted upside down or right side up. If you keep them right side up, you can put candy or even a succulent inside the clay pot.
Halloween Kawaii Clay Pots Craft Supplies
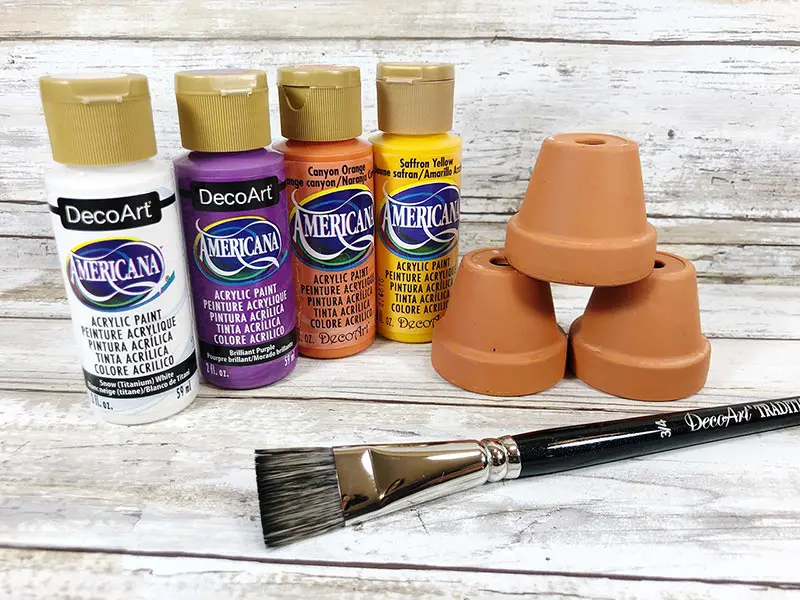
- 4 Mini Clay Pots – 2” size
- Acrylic Craft Paint in White, Yellow, Orange, Pink and Purple
- 4 purple Chenille Stems
- Paintbrush
- Glue Gun and Glue Sticks
- Scissors
- Black Permanent Marker
- White Gel Pen
- Pencil with unused eraser
Candy Corn Flower Pot Directions
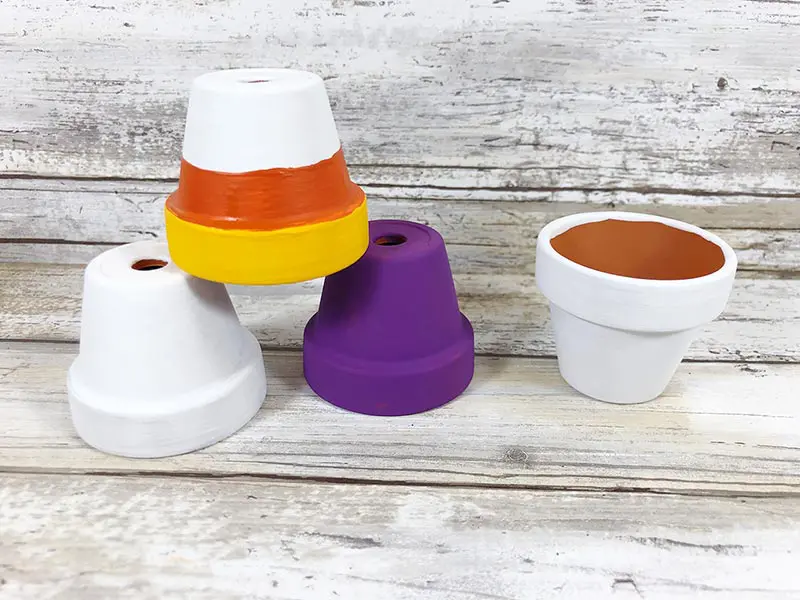
Basecoat the entire outside with white paint and let it dry for about 30 minutes. Apply a second coat if needed.
Leave the top third of the clay pot white and paint a band of yellow and then a band of orange. Set aside to dry before adding the face.
Ghost Flower Pot DIrections
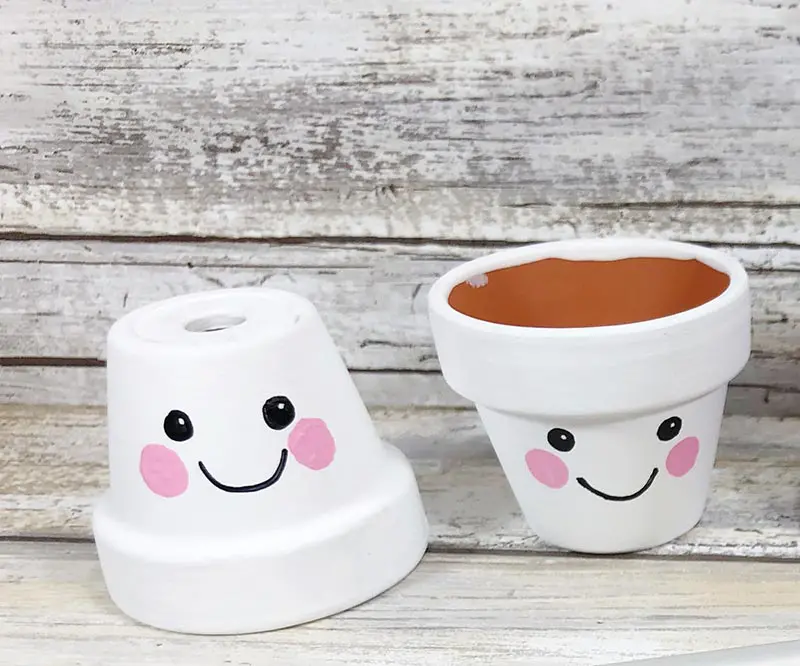
Paint two of the flower pots white and let dry for about 30 minutes. Apply a second coat as needed. Set aside to dry before adding the Kawaii inspired face.
Spider Flower Pot Directions
Paint a purple basecoat and let it dry for about 30 minutes. Apply another coat if necessary.
I recommend adding the cute face using the directions below before adding the legs.
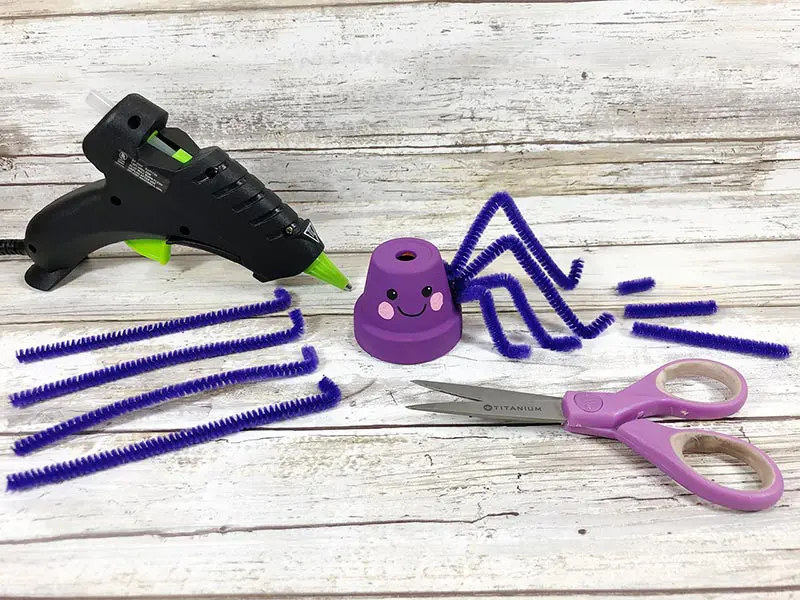
To create the spider legs, cut four purple chenille stems (aka pipe cleaners) in half with scissors.
Fold ¼” of one end of all eight chenille stem legs at a right angle.
Use a glue gun to attach the folded end of four legs to each side of the spider.
Then starting with the bottom leg, bend at the knee and ankle and then making each leg a little bit longer. Trim excess with scissors.
How to add Kawaii inspired face:
After all the terra cotta pots are dry, it’s time to add the cute faces.
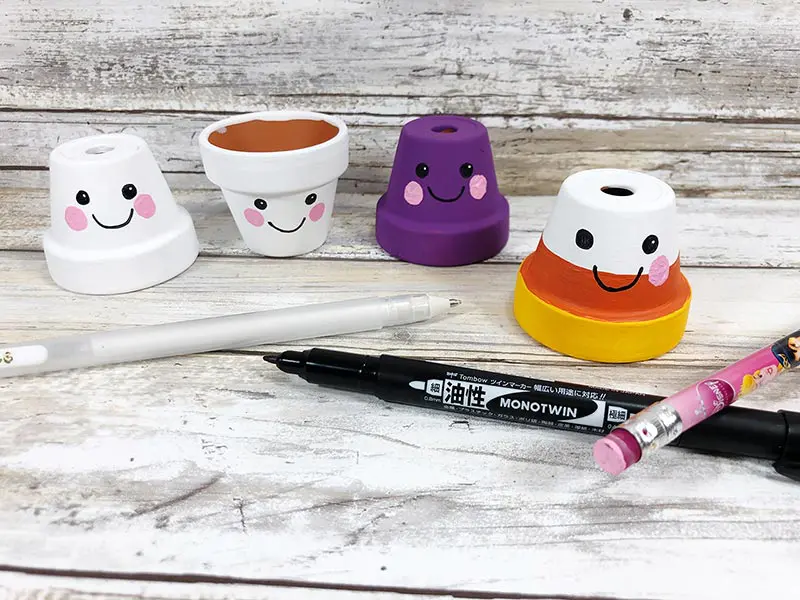
Use the permanent black marker and draw two dots fairly far apart for the eyes.
Draw a half circle just under the eyes with the marker.
Using the white gel pen, add tiny dot highlights to the top right of the eyes. The top right is usually where these highlights go, but make sure they are in the same position on both eyes if you try a different placement.
For the cheeks, dip an unused pencil eraser in pink craft paint and dot under each eye to each side of the mouth.
More Halloween Ideas For You:
- DIY Spell Book Halloween Decoration
- DIY Wand Craft
- DIY Monster Eyeball Lights
- Easy Coffee Filter Bats Halloween Craft
- 20 Wickedly Awesome Witch Crafts
- 25 Ghoulishly Good Halloween Party Food Ideas
- 10 Allergy-Friendly Halloween Treats and Goodies
- Best Halloween Games for Kids
Kawaii Inspired Halloween Terracotta Pots Printable Directions
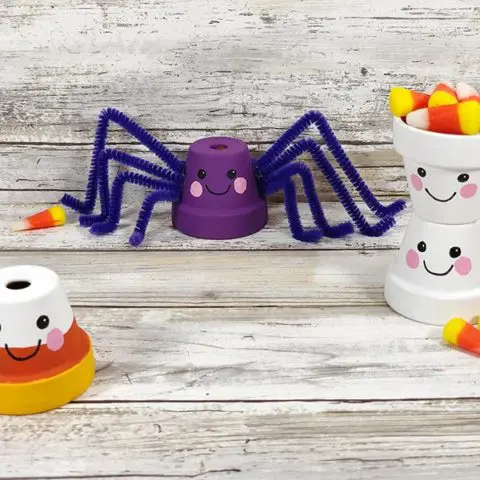
Halloween Kawaii Style Flower Pots Craft
These Halloween flower pot decoration ideas are super cute Kawaii inspired crafts that are easy to make. Use a little paint and transform your terracotta pots into a spider, ghost, and candy corn. Great for non-scary Halloween decor.
Instructions
Candy Corn Flower Pot
- Basecoat the entire outside with white paint and let it dry for about 30 minutes. Apply a second coat if needed.
- Leave the top third of the clay pot white and paint a band of yellow and then a band of orange.
- Set aside to dry before adding the face.
Ghost Flower Pots
- Paint two of the flower pots white and let dry for about 30 minutes. Apply a second coat as needed.
- Set aside to dry before adding the Kawaii inspired face.
Spider Flower Pot
- Paint a purple basecoat and let it dry for about 30 minutes. Apply another coat if necessary.
- I recommend adding the cute face using the directions below before adding the legs.
- To create the spider legs, cut four purple chenille stems (aka pipe cleaners) in half with scissors.
- Fold ¼” of one end of all eight chenille stem legs at a right angle.
- Use a glue gun to attach the folded end of four legs to each side of the spider.
- Then starting with the bottom leg, bend at the knee and ankle and then making each leg a little bit longer. Trim excess with scissors.
How to add Kawaii inspired face:
- After all the terra cotta pots are dry, it’s time to add the cute faces.
- Use the permanent black marker and draw two dots fairly far apart for the eyes.
- Draw a half circle just under the eyes with the marker.
- Using the white gel pen, add tiny dot highlights to the top right of the eyes. The top right is usually where these highlights go, but make sure they are in the same position on both eyes if you try a different placement.
- For the cheeks, dip an unused pencil eraser in pink craft paint and dot under each eye to each side of the mouth.
Notes
Drying time may vary. This project works well if you paint all four basecoats before moving on to the next steps.

Darcy is the founder of “Life With Darcy and Brian,” where she combines her love for education, board games, and crafting to create engaging learning experiences for kids. Her creative projects and writing have been featured in outlets like The Toy Insider, CafeMom, Mom.com, Parents.com, Country Living, and The Pioneer Woman.


