
Are you seeking captivating butterfly activities for kids? Explore our butterfly paper plate craft, a delightful project that sparks creativity and learning.
Ideal for kids at home or school, this craft allows children to make colorful butterflies using simple materials.
It’s a hands-on activity that enhances fine motor skills and introduces children to the beauty of butterflies in a fun and interactive way. Whether planning a themed lesson or looking for a weekend project, it is perfect for engaging young children.

Benefits of Making a Paper Plate Butterfly Craft
Creating a paper plate butterfly craft offers several developmental benefits for children.
This activity helps improve fine motor skills as kids use scissors, glue, and other materials to construct their butterflies.
These activities also strengthen hand muscles and coordination, which are essential for writing and other tasks.
Additionally, crafting encourages creativity and imagination. Kids can choose their colors, patterns, and decorations, making each butterfly unique.

This freedom to create fosters creative thinking and problem-solving skills, allowing children to express themselves artistically.
Finally, crafting together provides an excellent opportunity for social interaction.
Working on a project like this in a classroom setting or at home with family encourages teamwork and communication.
Children learn to share materials, offer help, and discuss their ideas, enhancing their social skills.
This post contains affiliate links. As an Amazon Associate and a participant in other affiliate programs, we earn a commission on qualifying purchases.
Tru-Ray Construction Paper, 10 Vibrant ColorsDarice 1000 Pcs Popsicle StickMulti-Color Pom Poms, 1200pcs Assorted Size & ColorCrayola Mini Twistables Crayons (50ct), Crayons for Toddlers, 3+Elmer’s All Purpose Glue Sticks, WashableFiskars Training Scissors for Kids 3+ with Easy Grip (3-Pack) – Toddler Safety Scissors


How Does Repetitive Crafting Aid in Developing Finger Dexterity?
Repetitive crafting activities play a significant role in developing finger dexterity in children.
As kids repeatedly cut, glue, and manipulate small pieces, they refine their fine motor skills.
These repetitive motions help build muscle memory and hand strength, which are crucial for tasks like writing and drawing.
Additionally, tasks such as tearing or cutting paper into small pieces improve precision and control.
These actions require children to use their fingers and hands in coordinated ways, enhancing their overall dexterity and hand-eye coordination.

Lastly, repetitive crafting promotes patience and concentration. Children learn to focus on detailed tasks for extended periods, which benefits their overall cognitive development.
The repeated movements also instill a sense of accomplishment as they see their progress and the final product of their efforts.
Fun Butterfly Crafts for Kids
Immerse yourself in a world of creativity and learning with these delightful butterfly-themed creations.
These spring crafts for kids are perfect for keeping kids engaged while teaching them about the fascinating life cycle of butterflies and other important concepts.
Here are some fantastic examples to get started:
- Butterfly Life Cycle Craft
- Popsicle Stick Butterfly Craft
- Easy Coffee Filter Butterfly Craft
- Butterfly Crafts for Preschoolers
These activities provide creative fun while also offering educational value, teaching kids about the life cycle of butterflies and other important concepts.
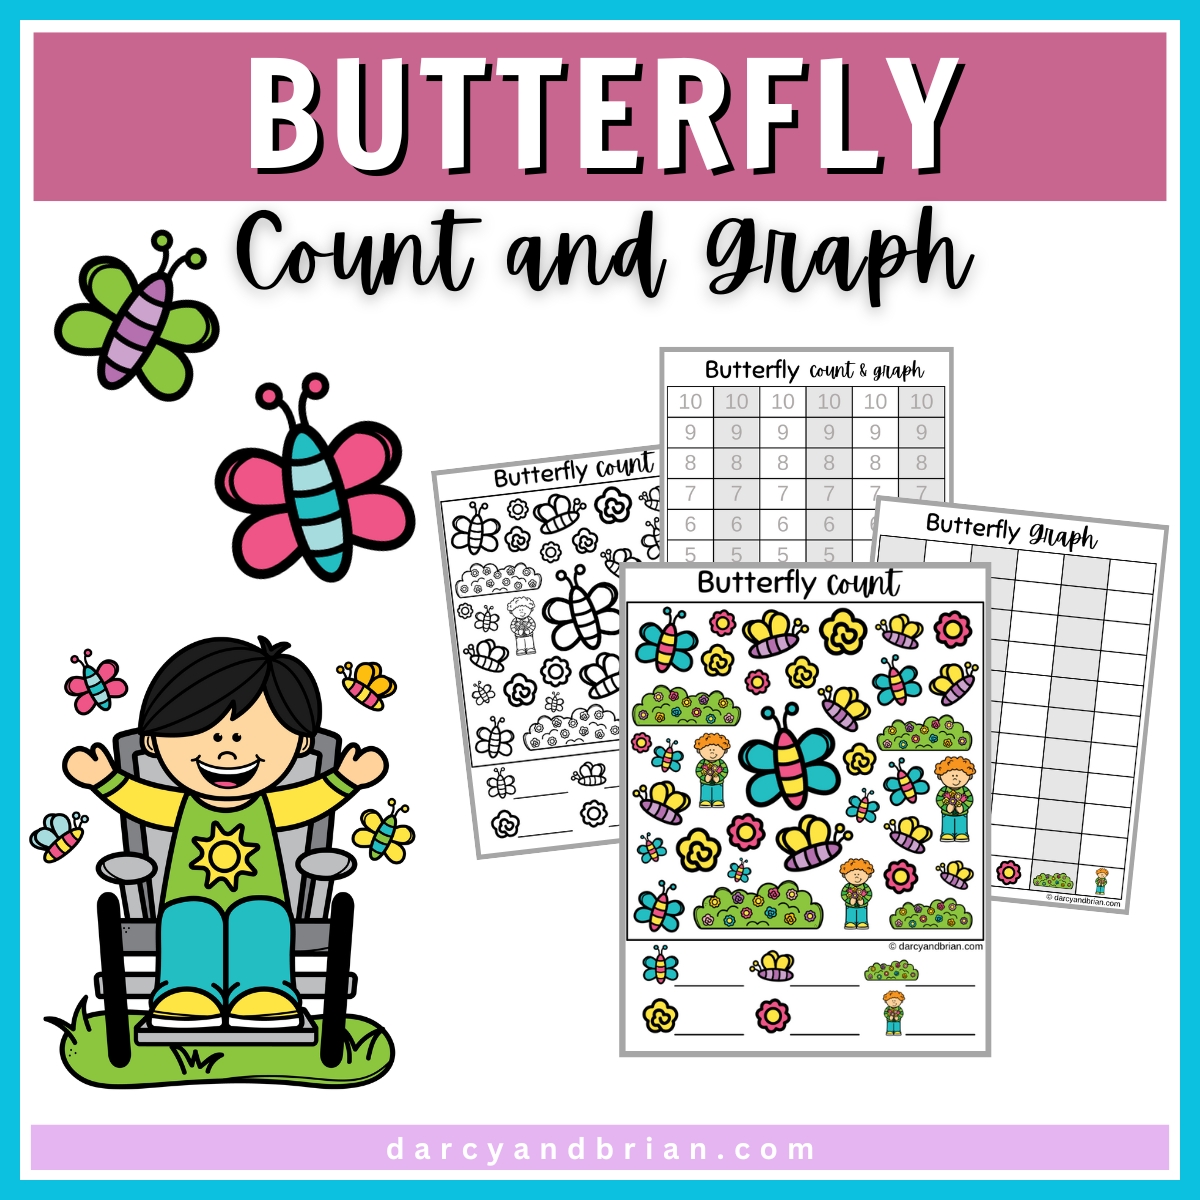
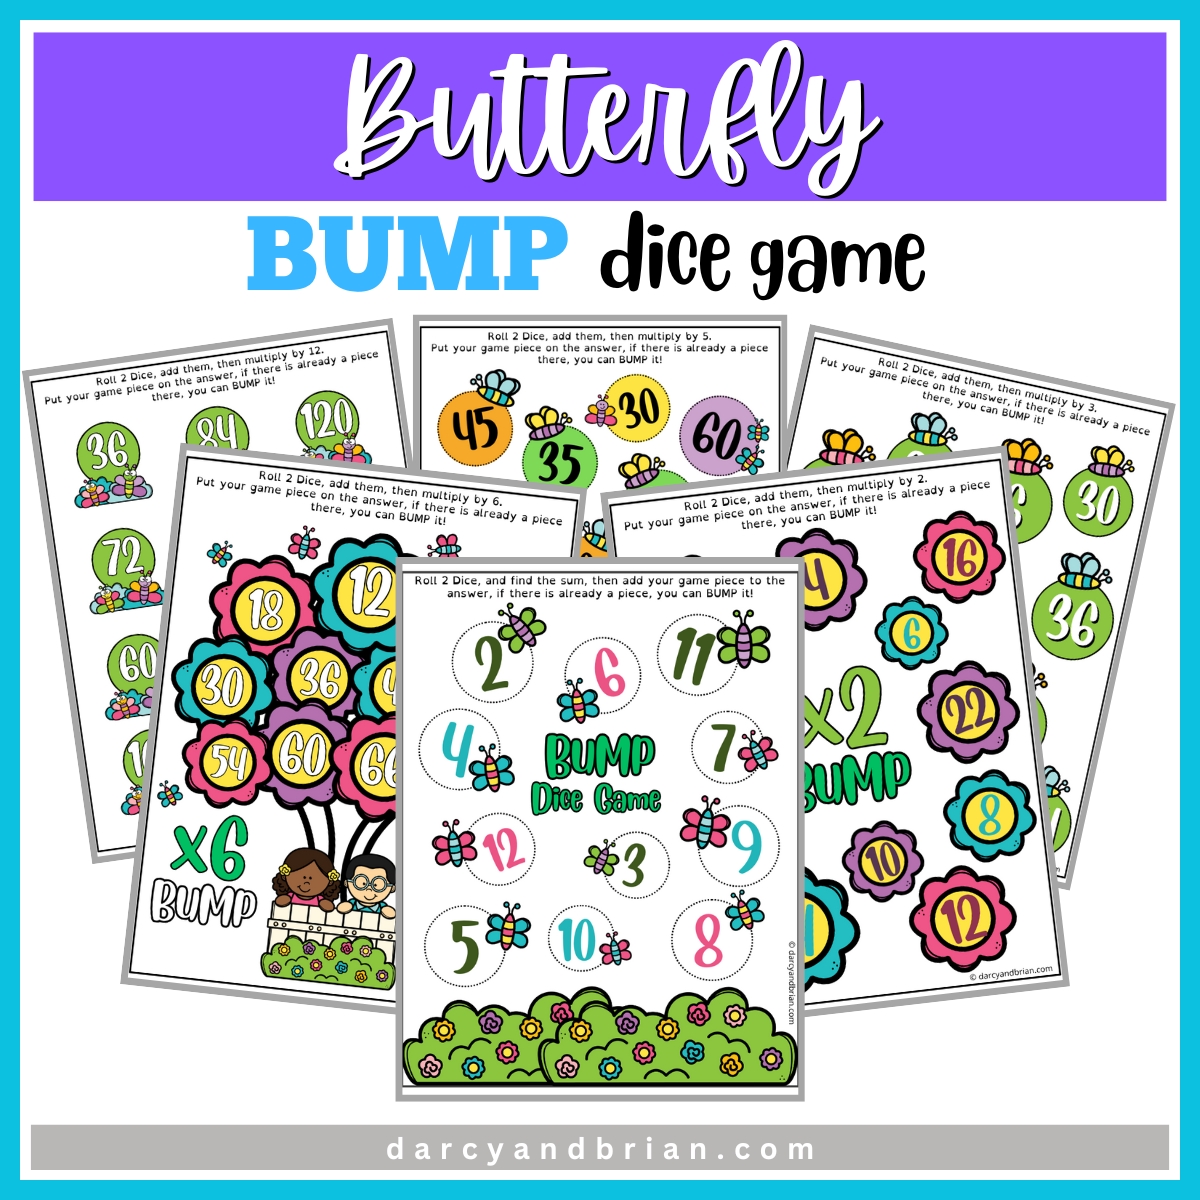
Butterfly Count and Graph Butterfly Bump Dice Game
Butterfly Paper Plate Craft Supplies
To make the butterfly paper plate craft, you will need a selection of basic crafting supplies that will allow children to get creative while putting their own unique spin on their project.
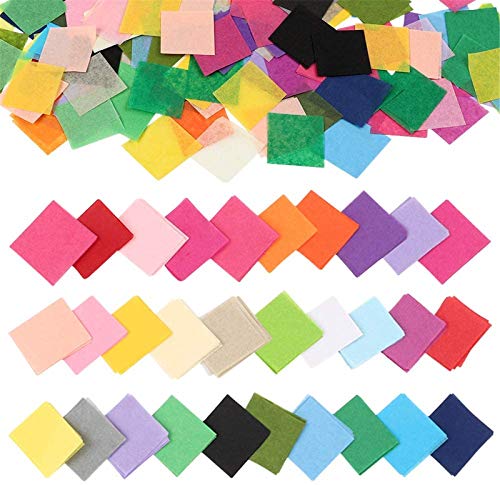
Start with paper plates, which serve as the foundation for the butterfly’s wings. Colorful tissue paper adds vibrancy and texture, bringing the butterfly to life.
Scissors are essential for cutting tissue paper and shaping other materials. The glue will hold all the elements together, from tissue paper to additional decorative items.
Pom-poms can be used to embellish the wings or represent the butterfly’s body, while pipe cleaners are versatile enough to create antennae and other intricate details.
Finally, markers or crayons are perfect for adding personalized touches, patterns, and finishing details to complete the butterfly design.
Shop some of my favorite craft supplies on Amazon!
How to Make a Butterfly Paper Plate Craft
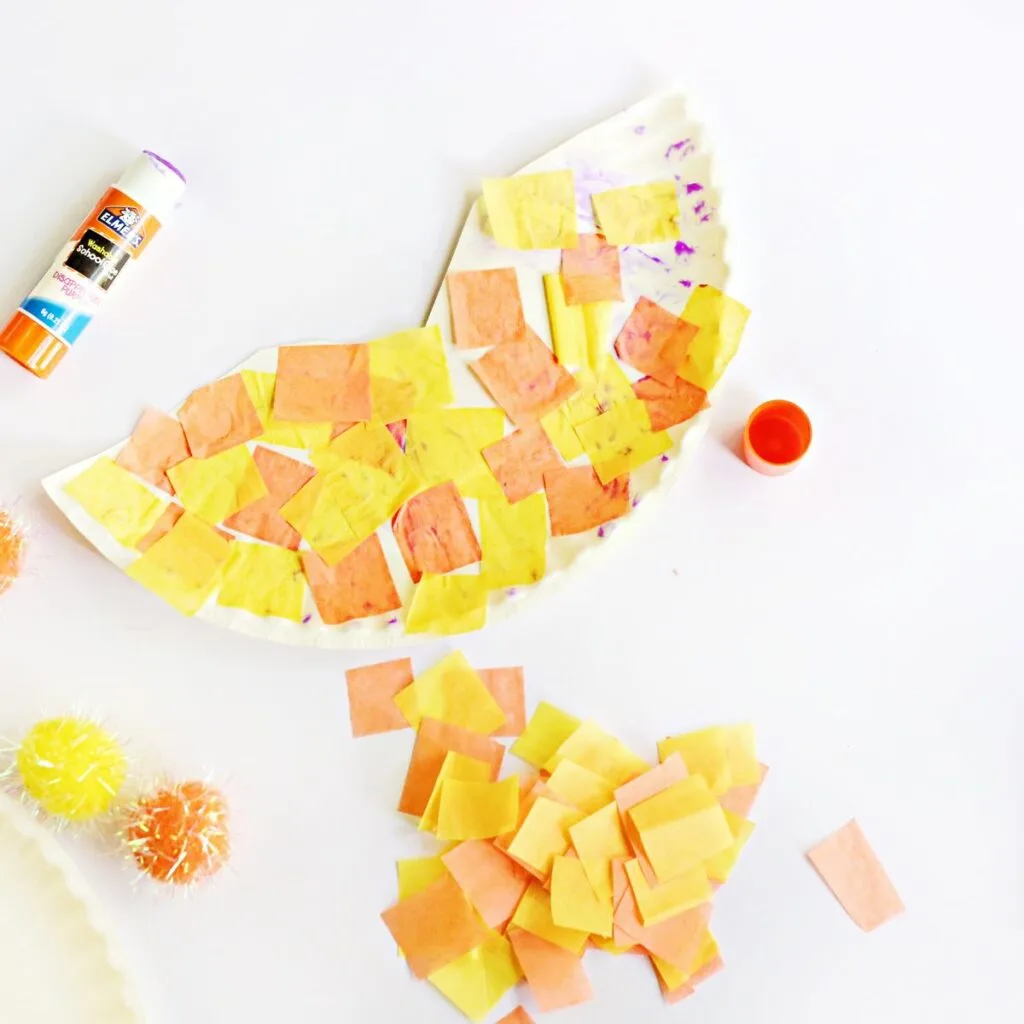
Creating a beautiful butterfly craft using a paper plate and tissue paper is a fun and easy activity for kids. Start by cutting strips of your brightly colored tissue paper into small squares.
Then, fold your paper plate in half and cut along the crease to make two halves. To give the wings their classic shape, cut a triangle out of the flat edge of each half of the paper plate.

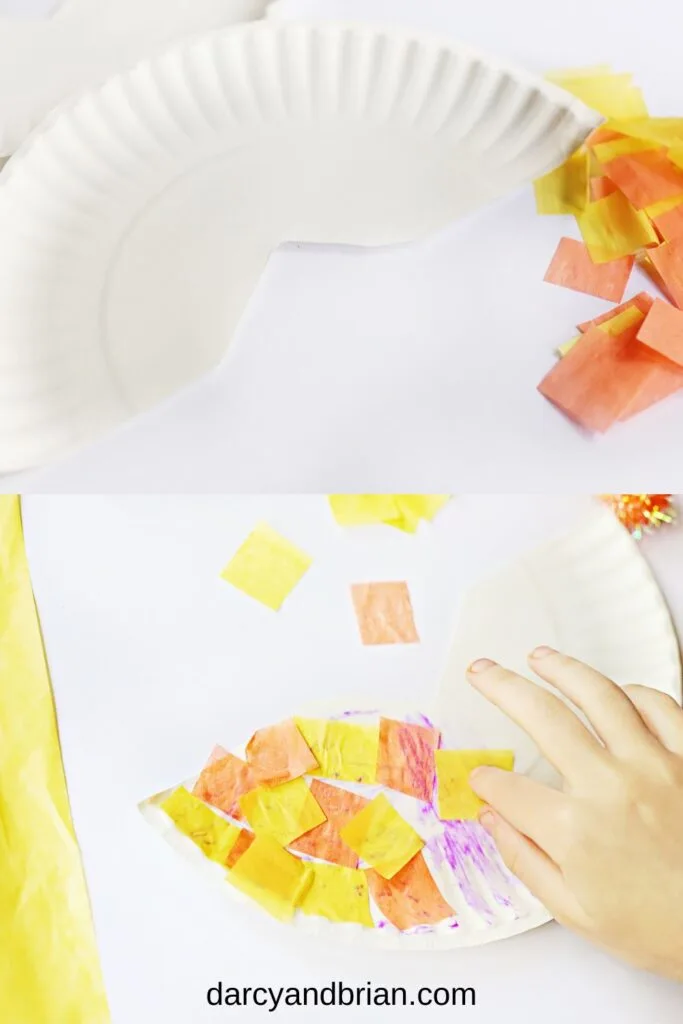
Next, apply glue to the paper plate halves, then let your child stick the tissue paper squares onto the plate to cover it completely.
A helpful tip is to use disappearing purple glue sticks so kids can easily see where they’re placing the tissue paper.
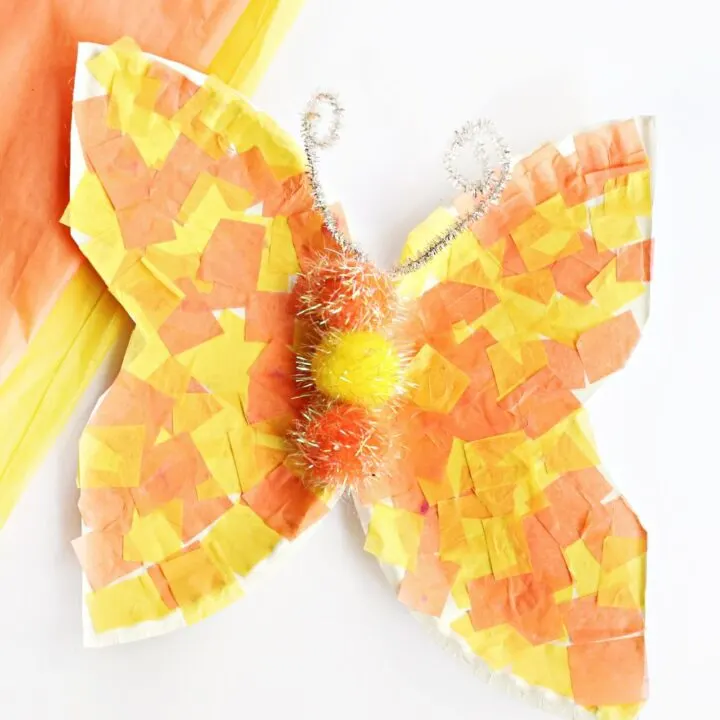
To make your butterfly extra special, try creating wing designs using two or three different colors of tissue paper.

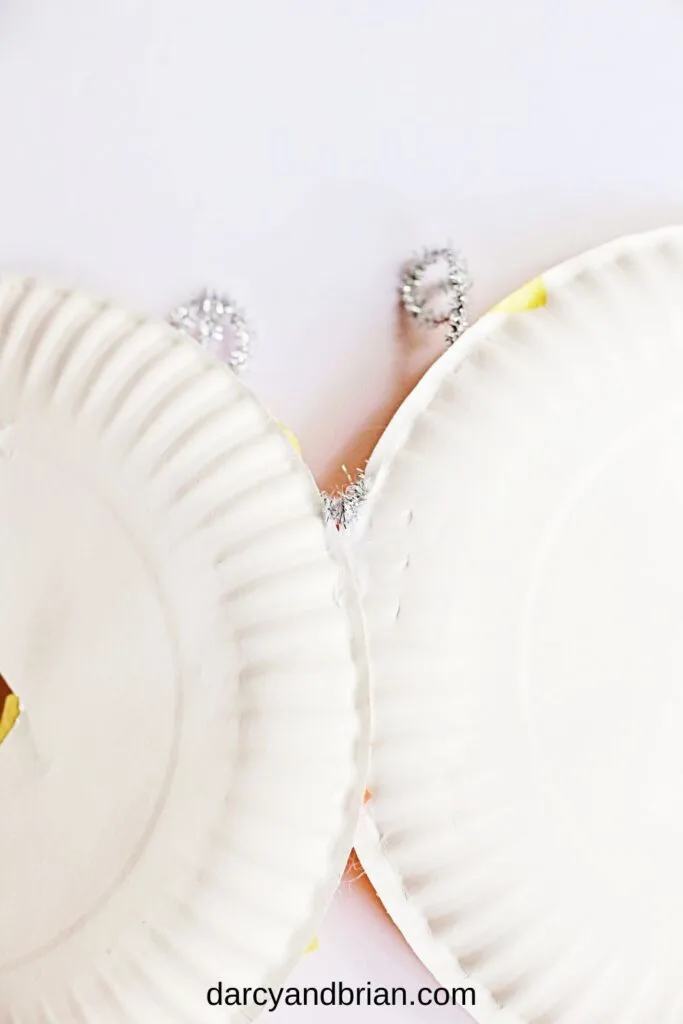
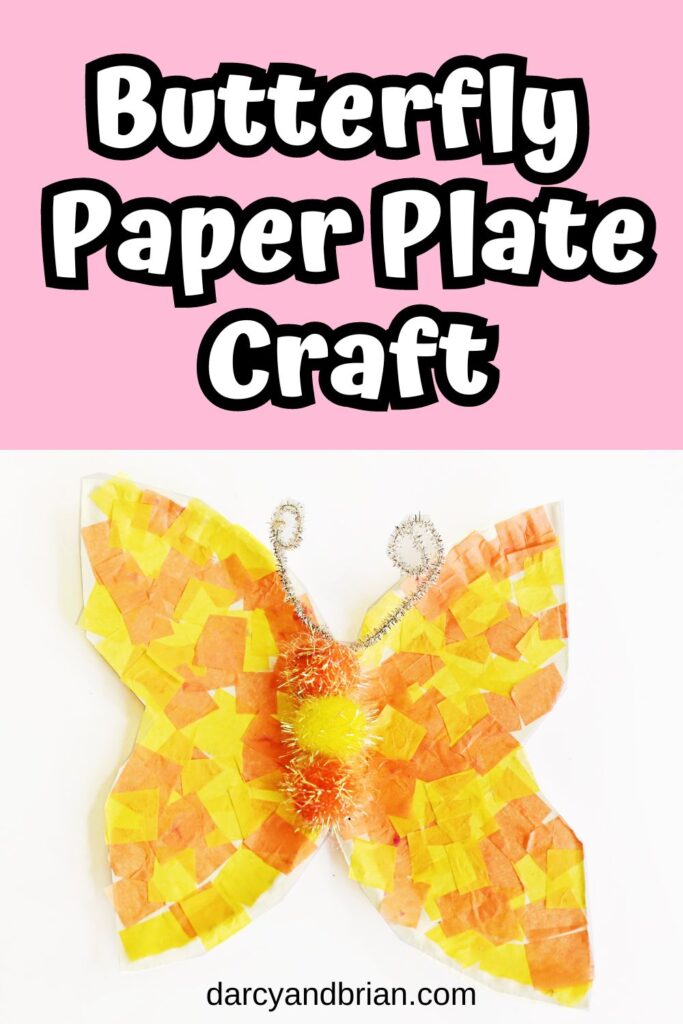
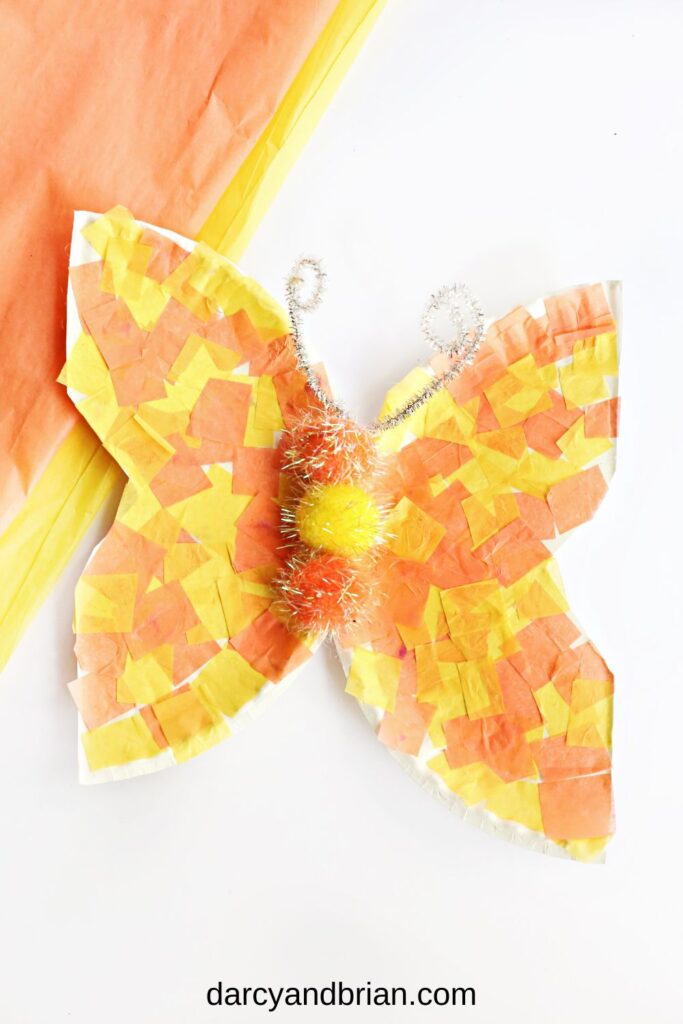
Now for the magic – glue the curved sides of the paper plates together to form a butterfly shape.
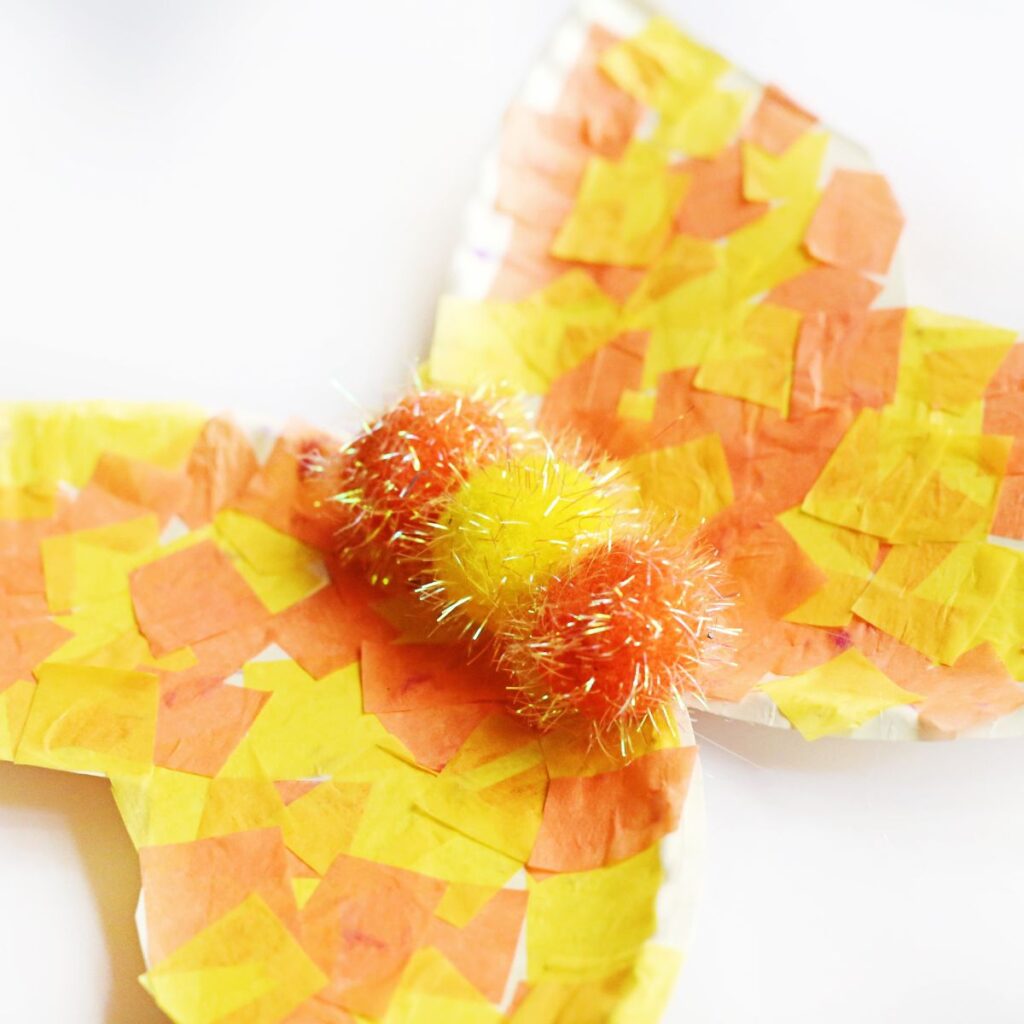
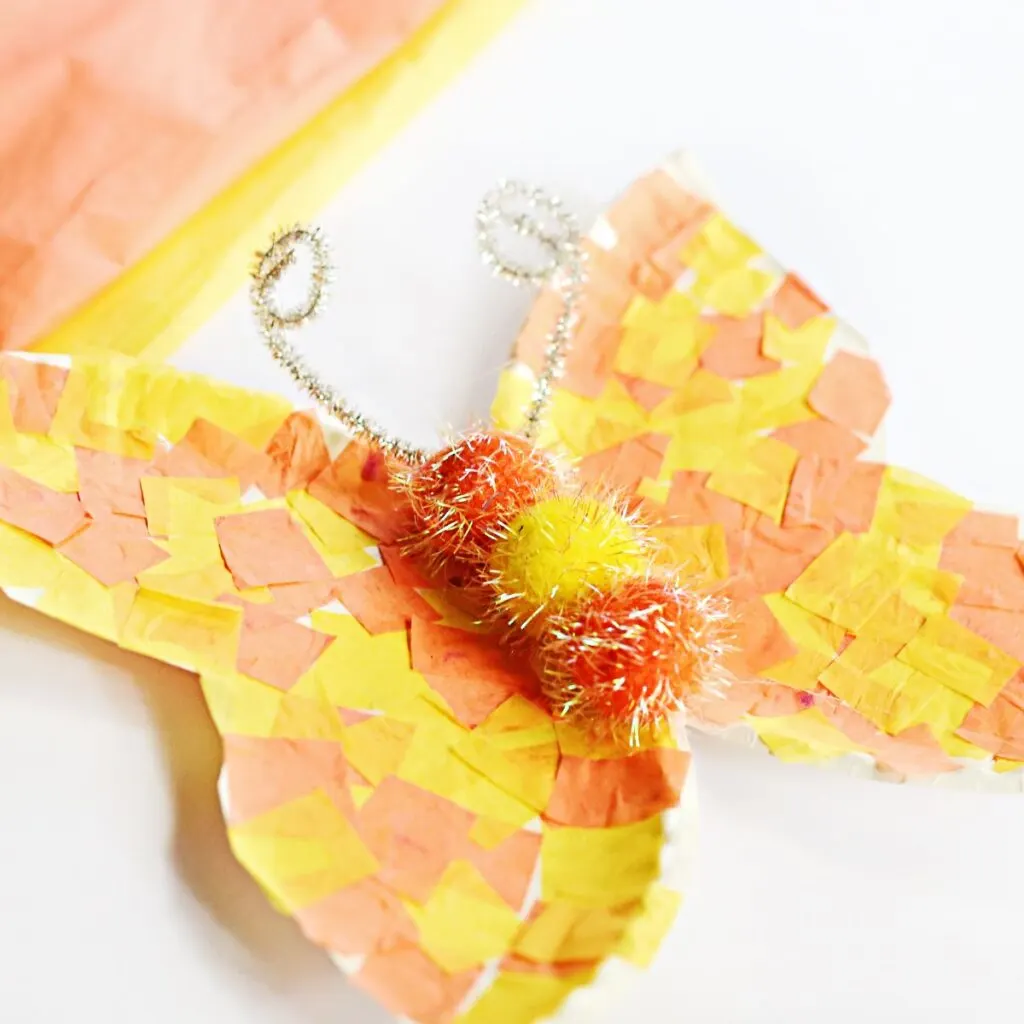
For the body, glue some pom poms right down the middle where the plates meet.

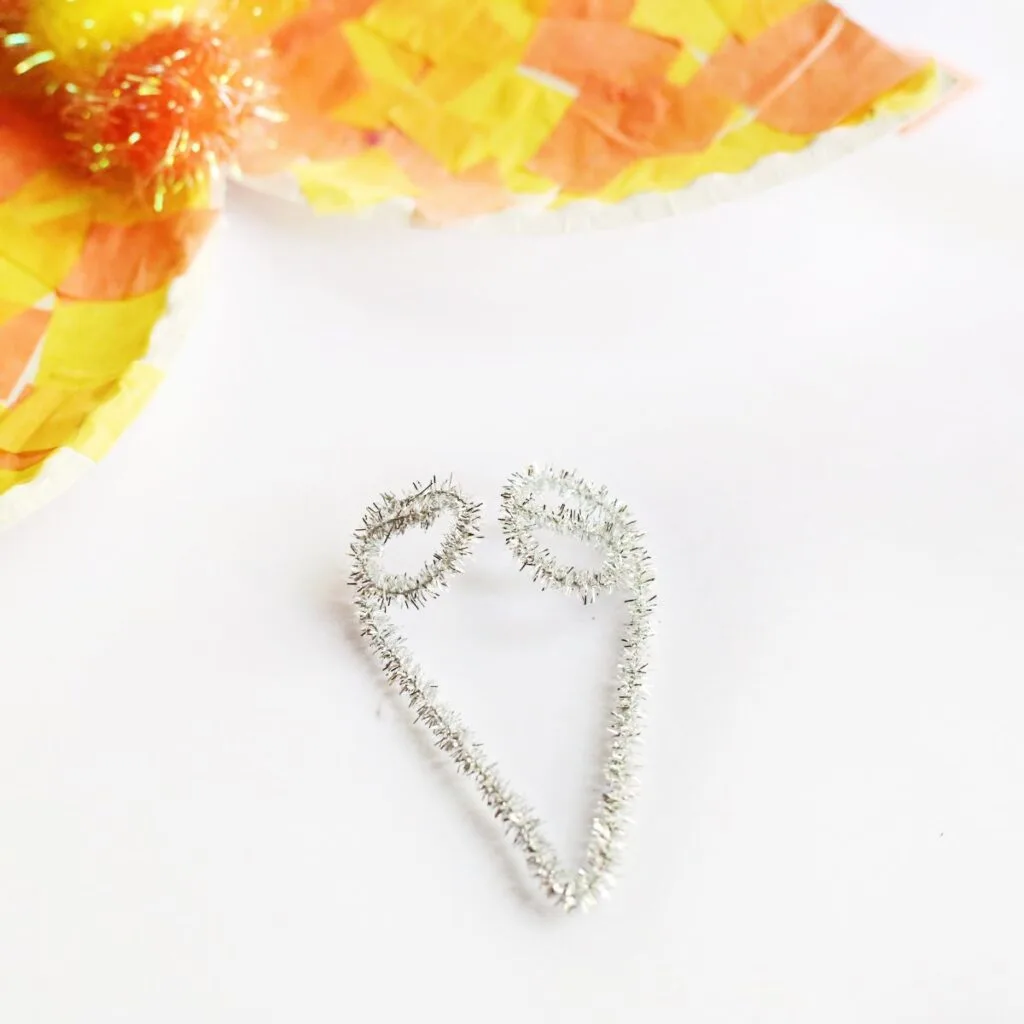
Finally, fold a pipe cleaner in half, curl the ends, and glue it on top to create the butterfly’s antennae.
Tips for Using This Project in Educational Activities
Integrating this butterfly craft into educational activities can enhance learning experiences. These tips can make the craft more than just an art project, making it a valuable educational tool.
- Thematic Lessons: Incorporate the craft into lessons about insects or the environment. As children create their crafts, discuss the life cycle of butterflies.
- Story Time: Pair the craft with stories or books about butterflies. This can help reinforce learning through a fun and hands-on activity.
- Science Projects: Use the craft as part of a science project on habitats, explaining where butterflies live and what they need to survive.

Kids’ Books About Butterflies
Enhance your butterfly-themed activities with these captivating books about butterflies.
Perfect for young readers, these selections offer a mix of educational and entertaining content that will deepen their understanding and appreciation of these fascinating creatures.
Here are some recommended titles:
Butterflies and Moths (Smithsonian Kids First Discovery Books)The Girl Who Drew Butterflies: How Maria Merian’s Art Changed ScienceThe Little Butterfly That Could (A Very Impatient Caterpillar Book)My, Oh My–A Butterfly! All About Butterflies (The Cat in the Hat’s Learning Library)National Geographic Readers: Caterpillar to ButterflyButterflies Are Pretty … Gross! (Nature’s Top Secrets)


These books provide additional knowledge and can be used to support learning in a fun and engaging way.
Easy Paper Plate Crafts for Kids
Looking for more creative ideas to keep your kids entertained and creative? Check out these easy paper plate crafts that are perfect for children of all ages.
They require minimal materials and are fun to create, making them an excellent choice for a quick and enjoyable activity:
- Summer Paper Plate Crafts
- Pot of Gold Paper Plate Craft
- Paper Plate Love Bug Craft
- Paper Plate Sunflower Craft
- Earth Day Paper Plate Craft
These projects are perfect for different seasons and occasions, providing endless crafting fun.
Incorporating butterfly-themed activities into your child’s routine can make developing fine motor skills enjoyable.

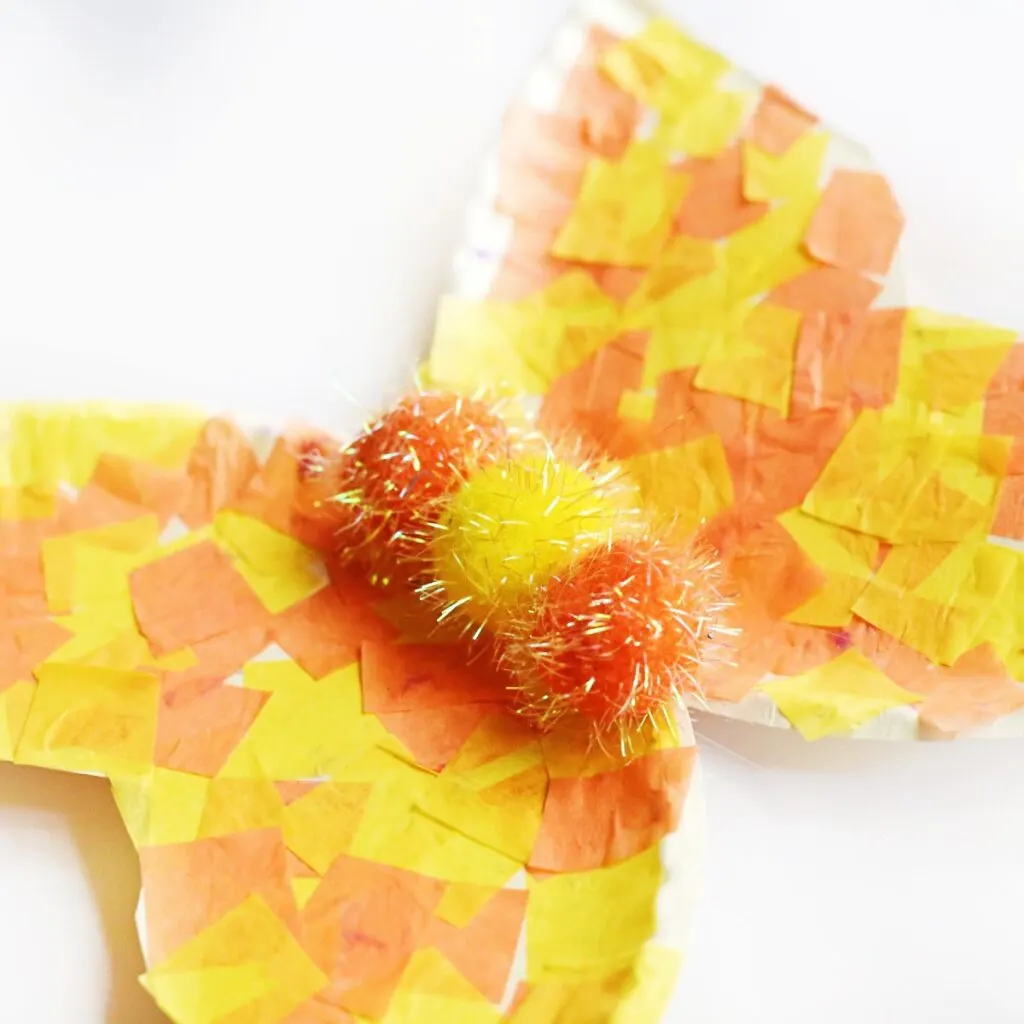
Butterfly Paper Plate Craft
Make this easy butterfly paper plate craft. Kids will love creating colorful wing designs. Perfect for preschool and kindergarten!
Materials
- Paper Plate
- Pom Poms
- Tissue Paper
- Chenille Stem (aka pipe cleaner)
- Glue Stick
Tools
- Scissors
Instructions
- Cut or rip tissue paper into squares. You can also purchase pre-cut tissue paper squares in a variety of colors.
- Next, fold the paper plate in half and cut along the crease.
- To create the wing shape, cut a triangle out of the flat edge of each half of the paper plate.
- Then, glue the tissue paper to the plate, completely covering the wings.
- Assemble your butterfly by gluing the curved sides of the paper plates together.
- Glue the pom poms in the middle for the body of the butterfly.
- Fold the chenille stem in half and curl the ends to form the antennae. Then glue it by the pom poms, where the plates are glued together.
Notes
Use two or three colors of tissue paper to create a colorful butterfly.
Use disappearing purple glue sticks so the child can see where to place the tissue paper.
Recommended Products
As an Amazon Associate and member of other affiliate programs, I earn from qualifying purchases.


Darcy is the founder of “Life With Darcy and Brian,” where she combines her love for education, board games, and crafting to create engaging learning experiences for kids. Her creative projects and writing have been featured in outlets like The Toy Insider, CafeMom, Mom.com, Parents.com, Country Living, and The Pioneer Woman.