This Frozen Snowflake Sensory Bottle is a pretty, no-mess sensory activity for kids. It’s perfect to include in winter themed toddler activities and for fans of Disney’s Frozen movies.
Sensory bottles make a great quiet time indoor activity for kids. Sometimes they are also called calm down bottles or jars. Enjoy a relaxing afternoon playing with this and coloring Frozen 2 pages together.
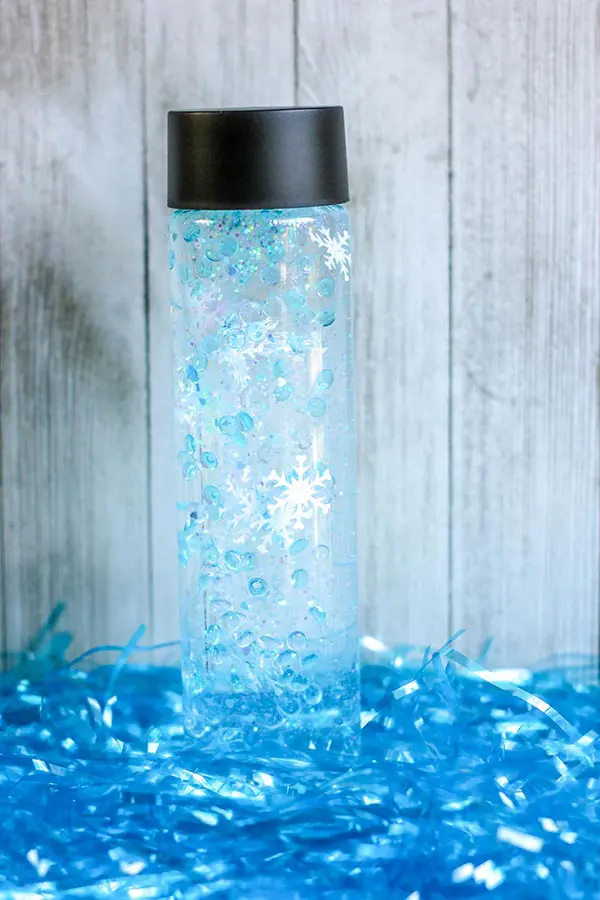
Love the movie Frozen? Gift this Frozen snowflake sensory bottle along with the best Frozen toys for kids. Plan a Frozen-themed party and make these Elsa inspired treats and this Frozen inspired bracelet craft too.
This post contains affiliate links. As an Amazon Associate and a participant in other affiliate programs, we earn a commission on qualifying purchases.
Disney Frozen Inspired Snowflake Calm Down Sensory Bottle
It’s easy to make your own snowflake sensory bottle and the kids could definitely help make it too.
These are great for kids of all ages to play with, but can offer a safe, non-messy way for babies and toddlers to observe different objects as they move through the bottle.
So why are they also referred to as calm down bottles? When there are slow moving items, such as glitter, kids can be mesmerized as they watch it slowly settle to the bottom.
There are several calming strategies for kids, and this can help them to calm their breathing and regulate their emotions. Children can play with these bottles any time, but they may find them helpful if they are feeling anxious or upset.
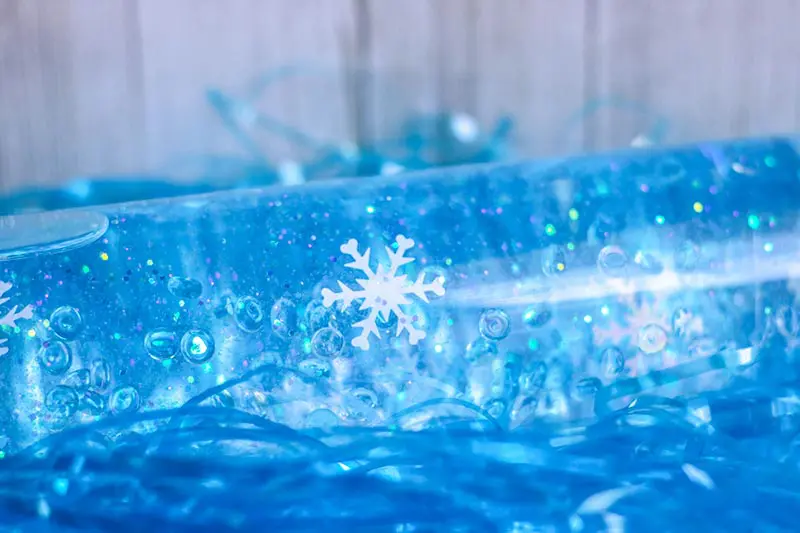
Frozen Snowflake Sensory Bottle Supplies
- 1 (16 ounce) plastic bottle (available at Michael’s or find similar but slightly smaller bottles here)
- 2 to 3 (5 ounce) bottles of clear Elmer’s Glue
- About 1 cup warm water
- About 1 tablespoon snowflake confetti
- About 1 tablespoon blue fish bowl beads
- additional glitter or confetti (optional)
- Small toys (if desired) could also be added in
How to Make a Frozen Snowflake Sensory Bottle
Start by gathering all of your supplies. If you don’t want to purchase a plastic bottle like the one shown, you could also upcycle a 16 oz water or soda bottle. Just clean it out before putting everything in it.
Pour one bottle of glue into your plastic bottle.
Now, fill the empty glue bottle about half full with warm water (which is about ¼ cup) and put the cap back on. Make sure it is closed (I always put a finger over the tip just in case).
Shake well to combine the remaining glue with the water, then pour it into the sensory bottle. Shake or stir to combine it with the glue already in there..
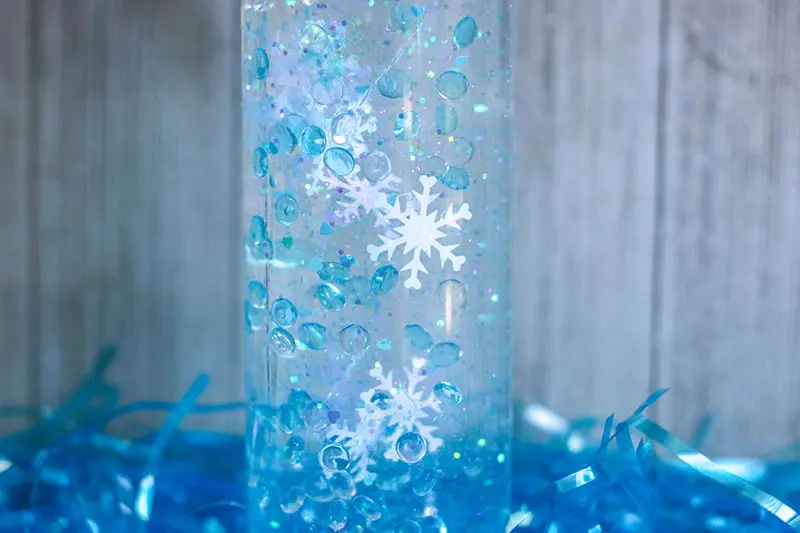
Now the rest is kind of eyeballing it. Add part of the fish bowl beads and snowflake confetti to the bottle as well as any additional glitter or toys you want in there.
Seal the sensory bottle and shake well. Now watch how the confetti and glitter move.
If the glitter or confetti does not move easily, add more warm water to the bottle. If the glitter or confetti moves to quickly, add additional glue.
Continuing adding in layers with the confetti, fish beads, glitter, glue and water until you achieve the look you want.
When the contents of the sensory bottle move according to your preference, seal the bottle and glue the lid closed to avoid spills.
If desired, cover the lid with duct tape and stickers.
More Kids Activities:
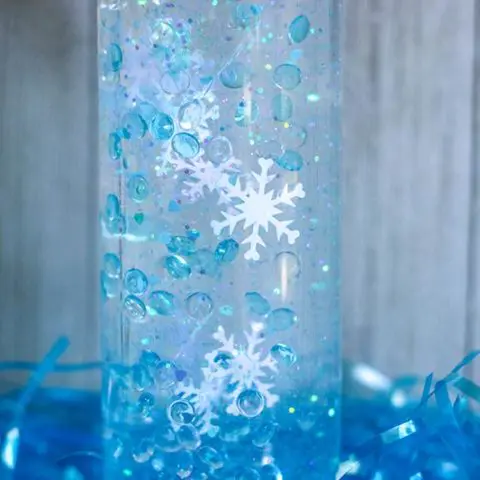
Frozen Inspired Snowflake Sensory Calming Bottle
Make your own Disney Frozen inspired snowflake sensory bottle for kids. It's a nice calming activity that is perfect for quiet time.
Instructions
- Start by gathering all of your supplies.
- Pour one bottle of glue into your plastic bottle.
- Fill the empty glue bottle about halfway with warm water (about ¼ cup) and twist the cap back on.
- Shake well to combine the remaining glue with the water, then pour it into the sensory bottle. Shake or stir to combine it with the glue already in there..
- Now the rest is kind of eyeballing it. Add part of the fish bowl beads and snowflake confetti to the bottle as well as any additional glitter or toys you want in there.
- Seal the sensory bottle and shake well.
- If the glitter or confetti does not move easily, add more warm water to the bottle. If the glitter or confetti moves to quickly, add additional glue.
- Continuing adding in layers with the confetti, fish beads, glitter, glue and water until nearly full and you achieve the look you want.
- When the contents of the sensory bottle move according to your preference, close the lid on tight. Seal the bottle and glue the lid closed to avoid spills.
- If desired, cover the lid with duct tape and stickers.
Notes
If you don't want to purchase a plastic bottle like the one shown, you could also upcycle a 16 oz water or soda bottle. Just clean it out first.

Darcy is the founder of “Life With Darcy and Brian,” where she combines her love for education, board games, and crafting to create engaging learning experiences for kids. Her creative projects and writing have been featured in outlets like The Toy Insider, CafeMom, Mom.com, Parents.com, Country Living, and The Pioneer Woman.

